Monday, June 6, 2011

Rhubarb & the Cure


It's rhubarb season! You can tell because there is the usual inundation that occurs with a fruit's peak season, and thus there is rhubarb everywhere. Rhubarb galettes, rhubarb pie, rhubarb danish, rhubarb everything! While this tangy plant stalk is delicious in it's natural form, many find it more enjoyable when paired with something sweet (most famously strawberry), and then baked. In fact, Strawberry & Rhubarb have become so closely entwined of late, that its difficult to find rhubarb alone anymore. This may be explained by the fact that rhubarb is simply not sweet enough all by itself. Similarly, you may notice that rhubarb dries out when baked and often keeps a bit of its stringy texture, making it less desirable to hold that spotlight alone. Its not too late for rhubarb, however. Our favorite way to prepare rhubarb at the bakery involves lightly curing it, which solves both of these troublesome issues.


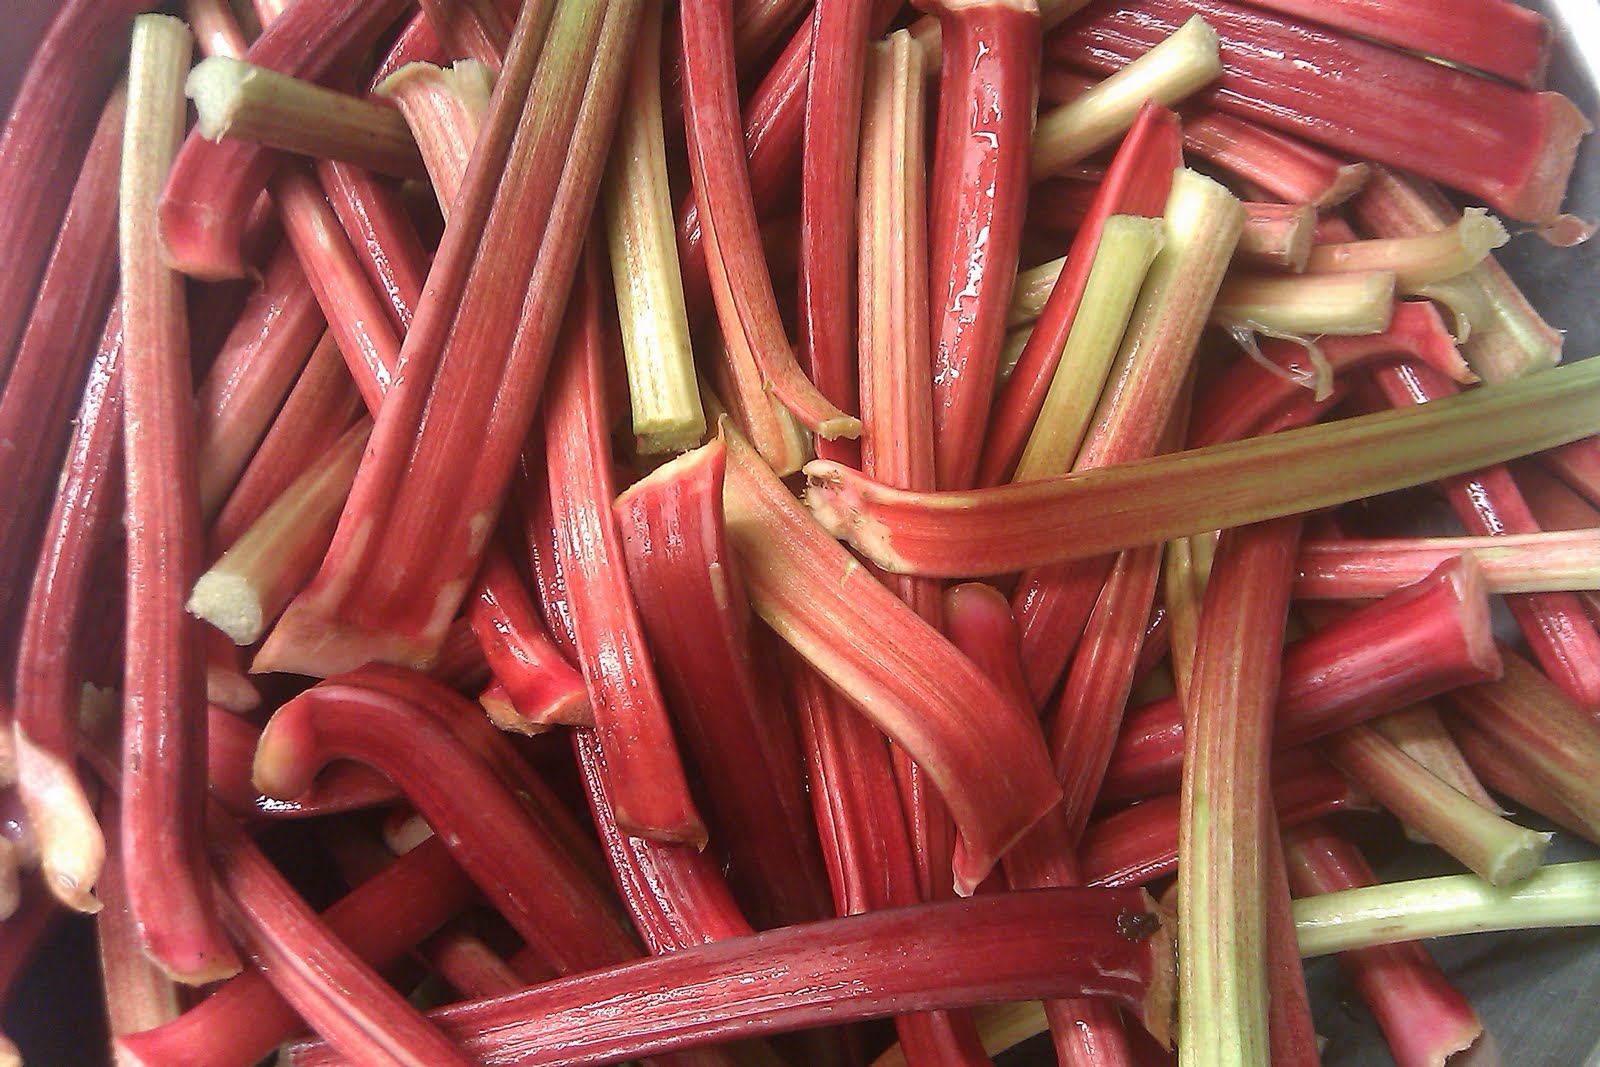
First off, our source for excellent rhubarb is the Santa Monica Farmer's Market. Always fresh, always tasty. Rhubarb can be bought by the pound, look for firm, crisp stalks. Prepare the rhubarb by throughly washing the stems and trimming each end. Then chop into 1/2" pieces. Make sure your pieces are close to the same size so they all cure evenly.


Once all rhubarb is chopped, place into a pitcher or other container that allows you to roughly measure the volume. You want to use that volume to calculate a ratio. 3 parts rhubarb to 1 part granulated sugar.


Thoroughly mix the rhubarb and sugar together by hand in a bowl. For added flavor, split and scrape 1 to 2 vanilla beans, adding both the seeds and the whole split beans to the bowl. Rub vanilla beans into the mixture so they are evenly dispersed.


Transfer into a plastic or glass container with a lid and store refrigerated for 24 hours. And then Voila! A complete transformation! The sugar and the juice from the rhubarb have created a liquid, lightly speckled with vanilla beans. The rhubarb is sweetened while still retaining a bit of its crunch, and furthermore, the stringy fibers of the stalk have been softened by the sugar and the flesh of the stalk has been hydrated.


This cured rhubarb can be stored for up to two weeks or more, and it will keep indefinitely if canned in a jar (though be sure to follow sanitary canning directions). Be warned, your rhubarb will continue to cure as it sits in the liquid. If you are content with its sweetness at any point and wish to stop the curing process, simply strain it and store it without its liquid, though its shelf life will be considerably shorter.


From our kitchen to yours: To use your cured rhubarb in baking, simply strain. We use ours in rhubarb scones, and the curing process helps it retain its moisture as well as hold its own as the sole fruit. Enjoy!

Wednesday, May 11, 2011

All Truffles Great & Small

Truffles, originally named for their resemblance to truffle mushrooms, are satisfying to make and delicious to eat. A truffle is traditionally a confection defined by a ganache center coated in chocolate. This is why truffles have a soft, melt-in-your-mouth inside and a crunchy outside. As pictured above, nothing pairs quite so well with truffle making (and eating) as an artfully made cappuccino by Cognoscenti Coffee...

The most important step in making truffles is to be completely prepared before you begin. As you can see, each ingredient is measured out separately, and all necessary utensils are at hand.
Ganache is an emulsion of cream & chocolate. Different proportions of cream to chocolate are used depending on the desired consistency and intended use of the ganache. You're likely to find ganache used as a cake filling, glaze, frosting or truffle center, though its so versatile that the possibilities are endless. This ganache contains butter for a smoother mouth-feel and Grand Marnier for an added complex flavor.


To make the ganache, we first chop the chocolate. We then boil the cream, pour it over the chopped chocolate, and let sit 1 minute. Then, starting from the center, using a spatula, wooden spoon or whisk, stir slowly outward in concentric circles. As you can see, the mixture begins by appearing cloudy and chunky. As you stir, you will notice the center of the mixture will turn a shiny smooth brown. Keep stirring, and the entire mix will eventually convert to this consistency. This indicates the mixture is properly emulsified. Cover the surface of the ganache with plastic wrap and let sit in a cool room overnight.


Once mixture is very firm to the touch, we use a small 1 oz scoop to portion truffles into rough balls. These are chilled until firm, and then properly rounded by hand. Once set, we set up the assembly line below: Truffles to the left, tempered chocolate for dipping in the center, cocoa powder for dusting to the right. Below the cocoa powder is a sheetpan for the final truffles to set.


The truffles are dipped in the chocolate, rolled in the cocoa powder, dusted off & then chilled until set.


Once set, the truffles are placed in truffle cups and ready to sell!


Other truffles available for Mother's Day this year at Proof include Lavender Dark Chocolate Truffles & Cherry Almond Petit Fours.


Thursday, April 28, 2011

A Brief History

As many long time residents of Atwater Village are aware, Proof Bakery is not the first bakery to inhabit 3156 Glendale Blvd. As proven by our infamous oven, the building has housed one bakery or another for many years. Unfortunately, tracking the exact history and notable dates of the space is proving even more challenging than working with croissant dough in this unseasonably warm weather. So we present to you what we know: An abridged history.


According to the fine city of Los Angeles, the building was built in the early 1920s and encompassed the entire space taken up by what is now Bill's Liquor, Box Brothers & Proof. The building was divided as early as the 1940s and the Rollin' Pin Bake Shop was created
by Art & Anne Sluis in 1962. They quickly drew faithful followers with 45 cent coffee, 35 cent donuts & 50 cent danish. We can only assume that the Sluis' were responsible for placing the oven in the bakery as well. The pictures from this entry were taken in 1982 when the bakery was celebrating it's 20th anniversary.


The now successful Rollin' Pin was bought in 1984 by a German baker with 30 years' experience. Wolf Dalichau ironically dropped "The Rollin' Pin" while keeping "The Dutch American Bakery", as this was the colloquial title it had acquired over the years. Wolf proliferated the ever popular mocha cake and word spread about the dutch crunch bread. It has been rumored that people came from as far away as San Diego for these regional specialties. Wolf also contributed to the bakery's history by expanding the back of the bakery out to the parking lot to accommodate more storage & refrigeration for his growing business. He sold the bakery sometime around 2003, and has since gone on to form another successful bakery, also named The Dutch American Bakery, in Stockton, CA.


The bakery was bought in 2002 by longtime employee Toni, who gave nod to its early heritage by naming the bakery Toni's Rollin' Pin. During this time the bakery began to respond to the growing need for a lunch program. Paninis and outdoor seating appeared, and the bakery began to put more emphasis on custom cakes.


In 2009 the bakery was sold to Viktor Benes, the in-store bakery found at all Gelson's Markets. With 16 other locations, a myriad of new pastries, cookies, and breads filled the display cases. Alligator bread became a neighborhood favorite, and a bright selection of specialty cakes were made available daily.

About a year later, Proof Bakery purchased the business and decided to take a new approach. The neighborhood has been through as many changes in recent years as the bakery itself, and the locals were asking for a different concept. After a few updates to a dated kitchen, a few months of intensive recipe testing, and more than a few fresh coats of paint, Proof opened on November 19th, 2010. As we approach our 6 month anniversary, we are happy to say that we have stuck to our mission statement; we utilize farmer's market produce, organic butter and a traditional old world approach to production to supply hand crafted French-style pastries to our neighbors. Locavores & Foodies abound on Glendale Blvd these days. Rumors are swirling throughout the neighborhood about fresh markets & new restaurants opening this year, and Atwater Village is slowly but surely gaining a solid foothold in a beautiful movement.


Monday, July 26, 2010

Lamination!


We attempted lamination this week, with promising results! Lamination, for those of you unfamiliar, is the process of layering fat (in this case butter) & dough through a series of folds to produce a flaky, rich pastry. To break it down: Create a simple dough, roll it out into a rectangle, and fold it around a pliable slab of butter. This gives you 2 layers of dough with a layer of butter in the middle. Then roll this out and fold it like a letter, therefore you have 9 alternating layers of dough and butter. Do this a few more times, depending on the exact type of laminated dough and voila! You've got a delicious pastry. Some examples of products made with lamination are croissants, danishes, bear claws, and puff pastry (used to make napoleons, palmiers & certain galettes).


We were lucky to have a cooling trend to help us out this week, as laminated doughs are rather fickle when it comes to temperature. Our first task was the elusive croissant which, while easy to find, is rather difficult to make well. A great croissant is flaky & well caramelized on the outside, and light & moist with an even, open crumb on the inside. We'd heard rumors that our oven was great for baking viennoiserie, and turns out they were true. The recipe still needs some work on flavor, but appearance was all we had hoped for.


Next we attempted some palmiers and galettes. Palmiers are little butterfly shaped cookies made of puff pastry that has been rolled out in sugar. When the palmier bakes, the dough puffs outwards and becomes extraordinarily flaky & the sugar turns to caramel on the outside of the cookie. All around a great concept! Galettes after that, using puff pastry as opposed to pie dough (see previous post), topped with golden nectarines and sprinkled with raw turbinado sugar. Feast with your eyes, my friends, these items will definitely end up on the final menu!

Up Next Week: Further development of croissant with traditional fillings (almond, ham & cheese, chocolate), equipment repair (no more lost eyebrows & traumatized squeals) & tarot card readings (if leaving things up to fate, its best to catch a sneak peek).


Sunday, July 25, 2010

And So It Begins

What optimistically began as recipe development in the Proof Bakery kitchen soon transformed into antique equipment capability testing. In other words, an abrupt tutorial in how not to lose your eyebrows while lighting a 90 year old oven (pictured below). You see, the bakery was originally founded sometime in the early 1920's and much of the existing equipment was purchased in the following two decades. This is excellent news in relation to the two large Hobart mixers because as they say, "they don't make 'em like they used to"; however when it comes to our gas powered equipment, its a bit more of a challenge for those of us raised in the time of the electric pilot ignition. Long story short, any fears of fire or explosion are quickly being overcome.


As mentioned above, our oven is estimated to be about 90 years old, and charming as that may sound, it does come along with a few challenges. The oven is a revolving oven, which means it has multiple long trays which rotate in a similar fashion to a ferris wheel. While it is common to find this style of oven in older bakeries, it is rare to find one so old (the doors open and close using the pulley & weight system). While the oven does work, it bakes quite differently than more modern ovens, and at times can be quite intimidating due to its mere breadth. Thus recently the challenges have been relearning to bake as they did early last century, and allowing our oven to determine our menu.


Our first week we experimented with the basics, as well as with heatstroke. The first real heatwave of the summer coincided with our first full week in the bakery, and as ventilation is limited, and the oven relentlessly emanated heat, temperatures quickly reached sweltering. We took advantage of the many, many Farmer's Markets in the area and can officially announce that stone fruit season is upon us! We made some classic plum frangipane tarts, as well as vanilla bean nectarine and red plum galettes (rustic freeform french tarts).


We had some moderate success with meringues, though our experimentation with flavor the following week produced much more palatable results. Additionally, we experimented with various brioche recipes.


We threw in some dark chocolate hazelnut biscotti & a bleinham apricot chocolate tart experiment for good measure. Yum!